Step 1: Make it
What is it?
Animate your own pictures on the micro:bit display.
How it works
- This program creates an animation on the micro:bit’s LED display output by using a built-in image and one you create yourself.
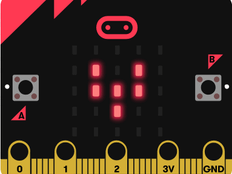
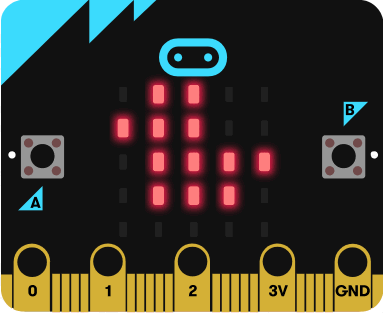
- First it shows the duck built-in image and then shows a modified version, which is made by moving all the dots (pixels) down one row.
- It shows the two different pictures one after the other, with a half second (500 millisecond) delay, to make it look like a duck bobbing up and down on the water.
- An infinite loop keeps the micro:bit showing the image sequence until you unplug the micro:bit.
- Using loops in computer programmes is also known as iteration. They help you create efficient compact code without needlessly repeating the same instructions.
What you need
- micro:bit (or MakeCode simulator)
- MakeCode or Python editor
- battery pack (optional)
- optional graph paper or LED planning sheet to sketch out your own animal designs
Step 2: Code it
Step 3: Improve it
- Try modifying and animating different built-in images like GIRAFFE and RABBIT.
- Create your own images from scratch using graph paper or our LED planning sheet to sketch out your designs.
- Make longer animated sequences to tell a story.
- In Python, use different numbers to change the brightness of different pixels. 9 is the brightest, 1 is the dimmest and 0 is off.