Step 1: Make it
What is it?
Turn the LED display into a sensor to make your micro:bit react to light.
How it works
- As well as working as an output, the LEDs on your micro:bit can also work as an input device light sensor, measuring the amount of light falling on them.
- This means that micro:bit programs can make different things happen depending on how light or dark it is.
- The program uses an ‘if… else’ statement to show the sun image only if the light level is greater than (>) a certain level. This is known as selection – selecting when different things happen.
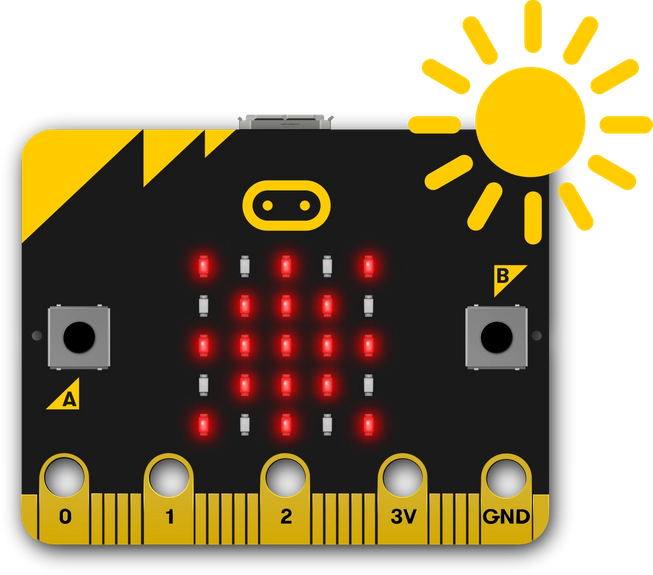
- Flash this program onto your micro:bit and shine a light source, like a torch, daylight or bright ceiling light on to the micro:bit, and you should see the sun appear.
- Cover the micro:bit with your hand and the sun icon should vanish.
- If it doesn’t work, try making the 100 number smaller to suit the lighting where you are.
- You can read more background information about how the micro:bit light sensor works here.
What you need
- micro:bit (or MakeCode simulator)
- MakeCode or Python editor
- battery pack (optional)
- a light source and something to cover the micro:bit with – your hand will do!
Step 2: Code it
Step 3: Improve it
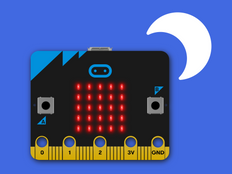
- Show a different picture, like a moon or star, when it’s dark.
- Show an animated sun when light falls on your micro:bit.
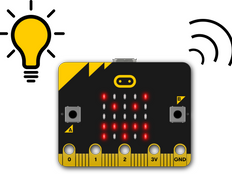
- Turn this project into a night-light by making it light up the micro:bit’s display when it goes dark.